Today we’ve carried out one of my most preferred classes: Sourdough bread baking.Sourdough is the ancient, original and most nutritious method of baking bread. There are few prerequisites to be faithful to the concept and enjoy the best possible results:
Starter Your starter is the heart and soul of your future bread. The magic lies in the simplicity of it. Good, organic whole grain or rye contains bacteria and natural yeasts which if nurtured and fed regularly will lead to a “starter” which used in the bread mix will allow the bread to develop fantastic flavour and volume with lots of bubbles and body.
You can too make your starter by following the next steps:
- Weigh 50g of organic rye or whole wheat flour and mix it in a clean container with 50g of filtered water. It is essential that you do not use tap water as the chlorine that it contains will kill the natural yeast and bacteria from the flour. Incorporate the flour and water until you get a wet paste. Set aside at room temperature with a loose lid.
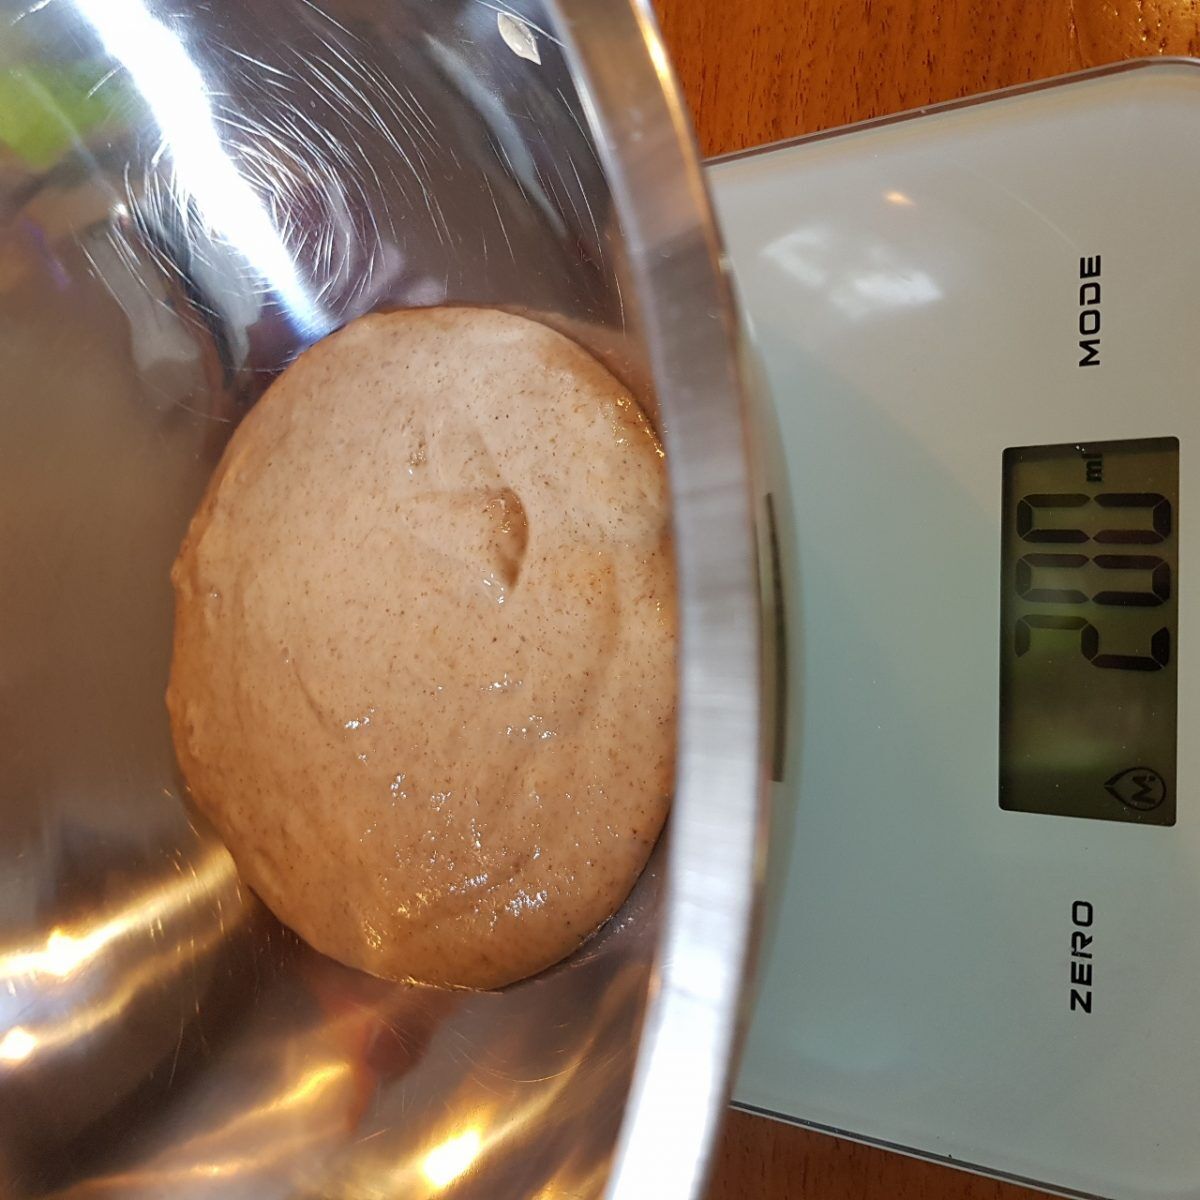
- 24 hours later take a look at your starter. Not much might have happened or you could also see some growth with little bubbles. The following steps are to be repeated over the next 7-10 days until your starter becomes active and vigorousRemove half of your starter and discard it. Add 100g of flour and 100g of water again and set aside at room temperature
- Which each passing day the starter will grow more and faster until eventually, you will get to a doubling or tripling of volume after only a couple of hours. Your starter will be ready to use at this point for baking. Another way to test it is to take a teaspoon full of it and set it in a glass of water. If it floats, it is ready.
Flour
You need good flour for great bread.In today’s lesson, we will use three different powders. We have the organic rye, supercritical for a good starter, baker’s white unbleached flour and some whole wheat flour. Do not use bleached flour or plain flour as the content of protein and gluten contained is not acceptable for bread baking.
Water
Filtered water at room temperature or body temp which will speed up the proving
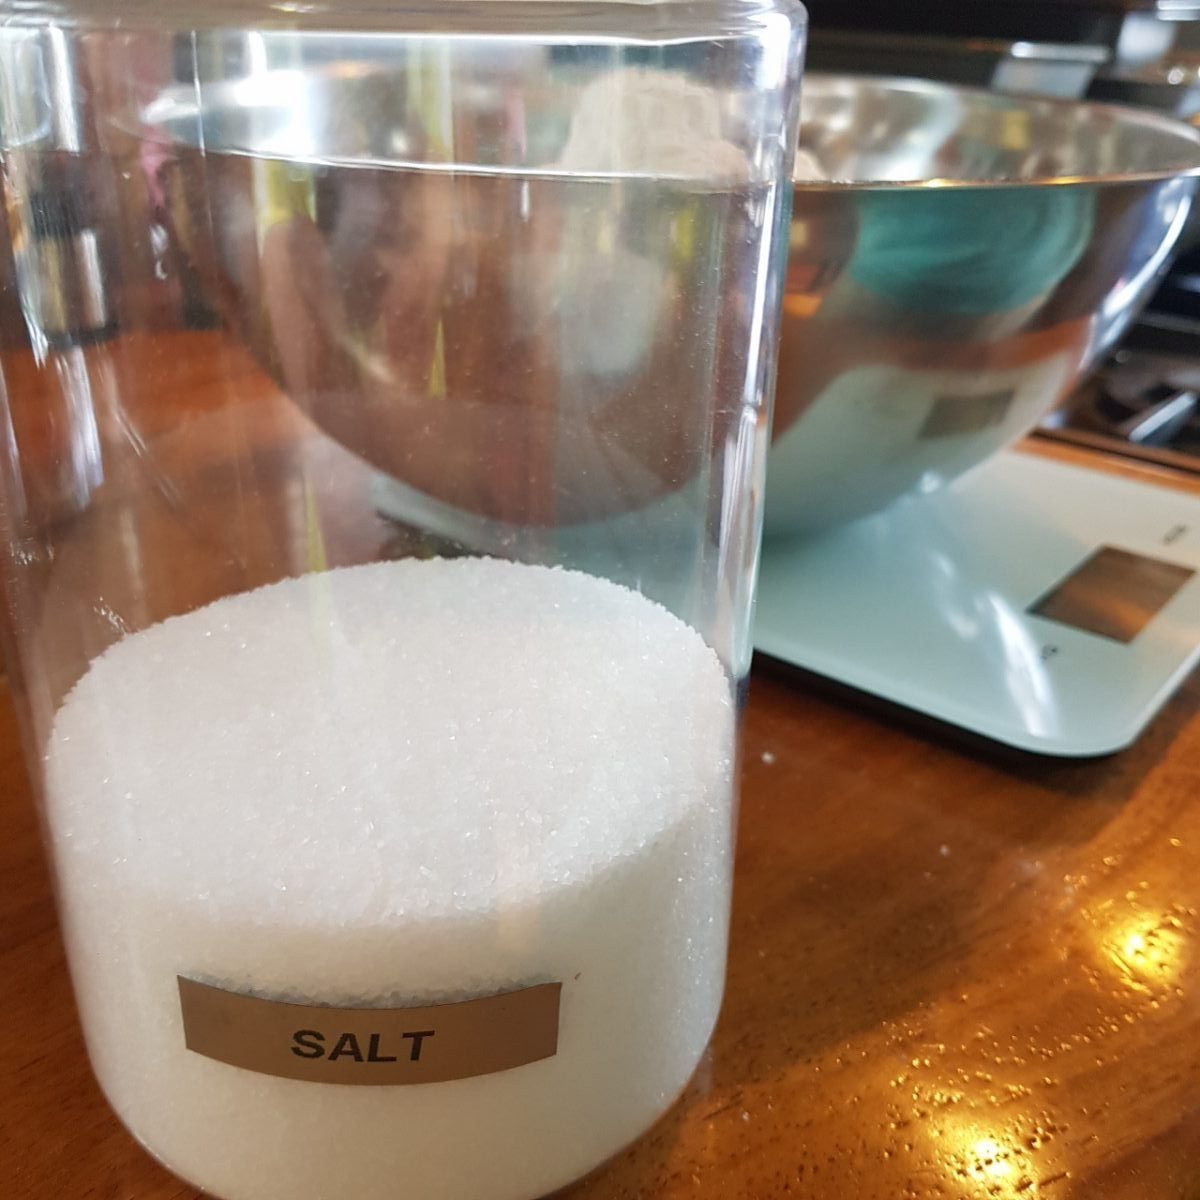
Salt
Any salt should do. Salt contributes towards controlling the fermentation process ( slowing down the reaction ) and also adds to the final flavour.
Recipe ( for two loaves)
200g vigorous starter900g bakers flour100g whole wheat flour700g filtered water20g salt
That’s it!
Method:
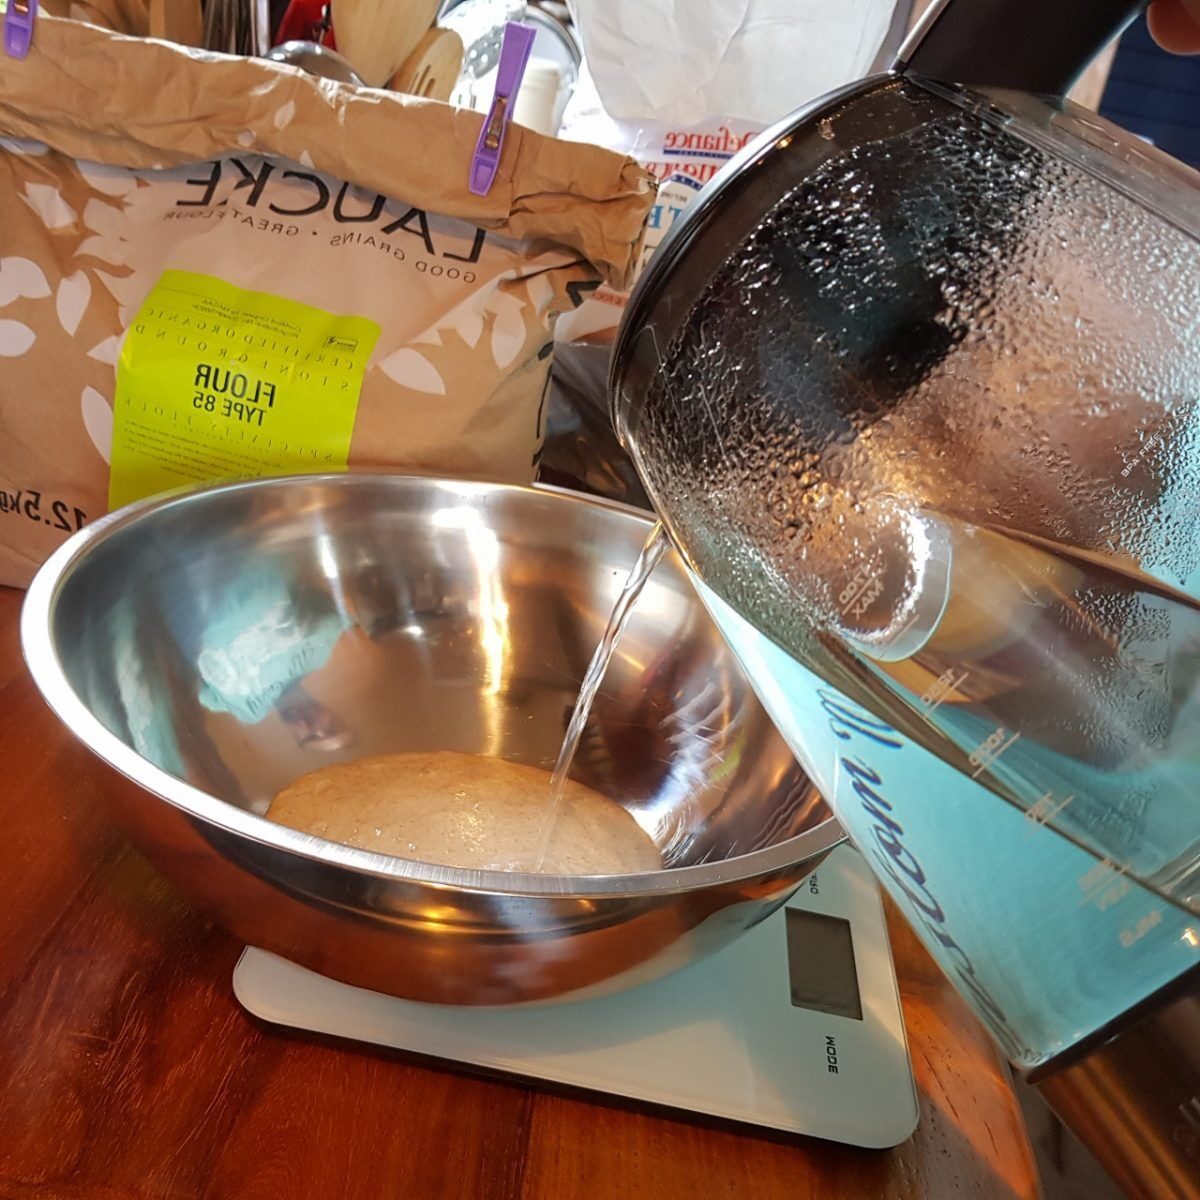
Use a digital scale for best results.
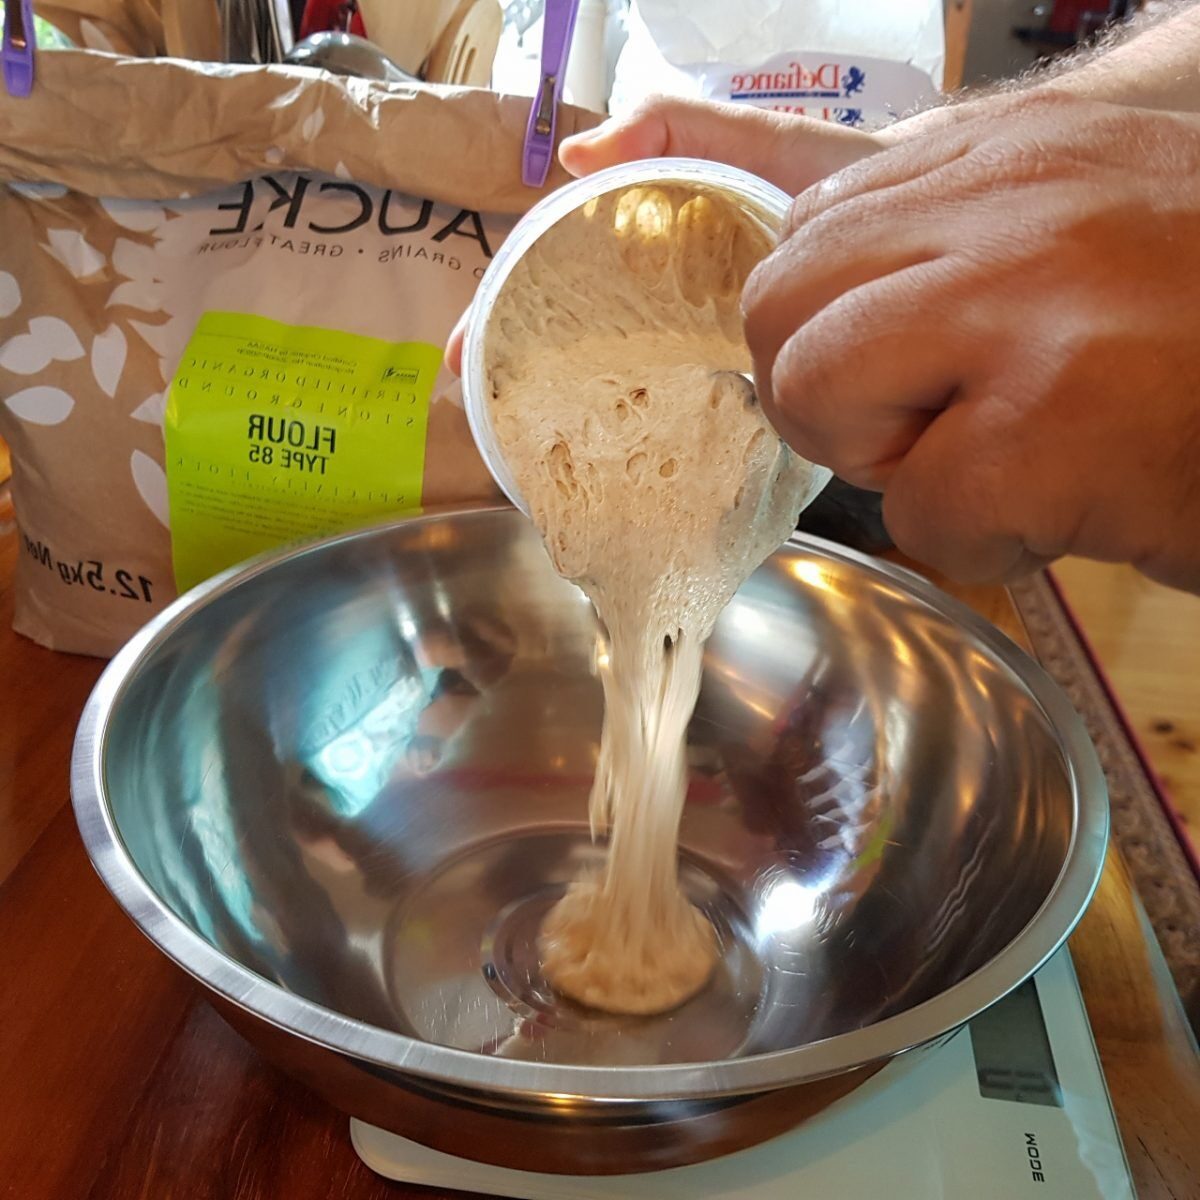
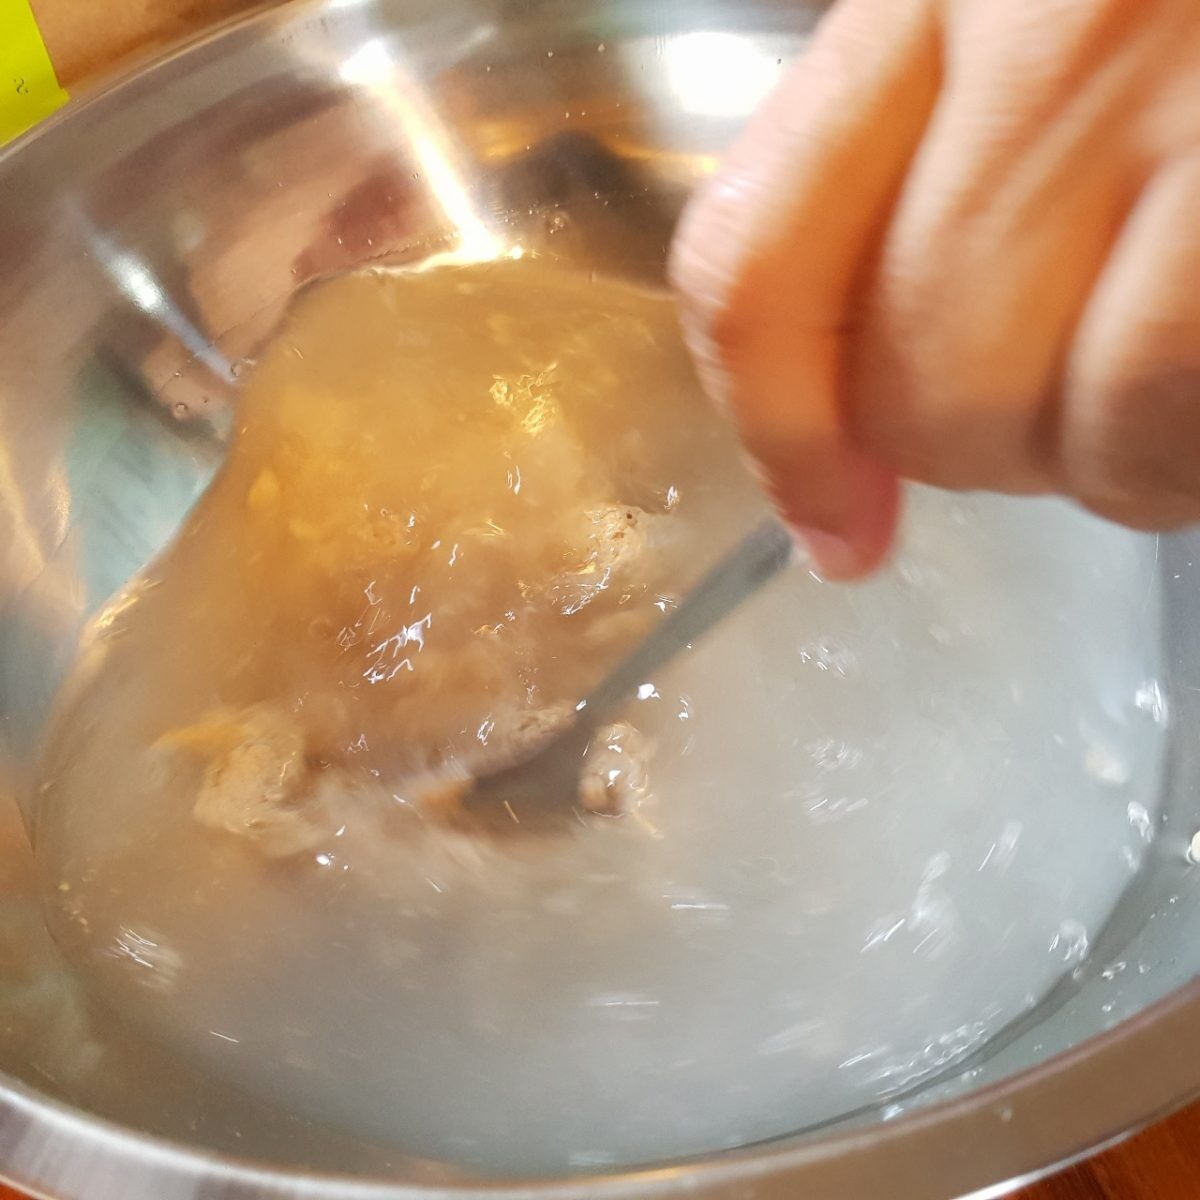
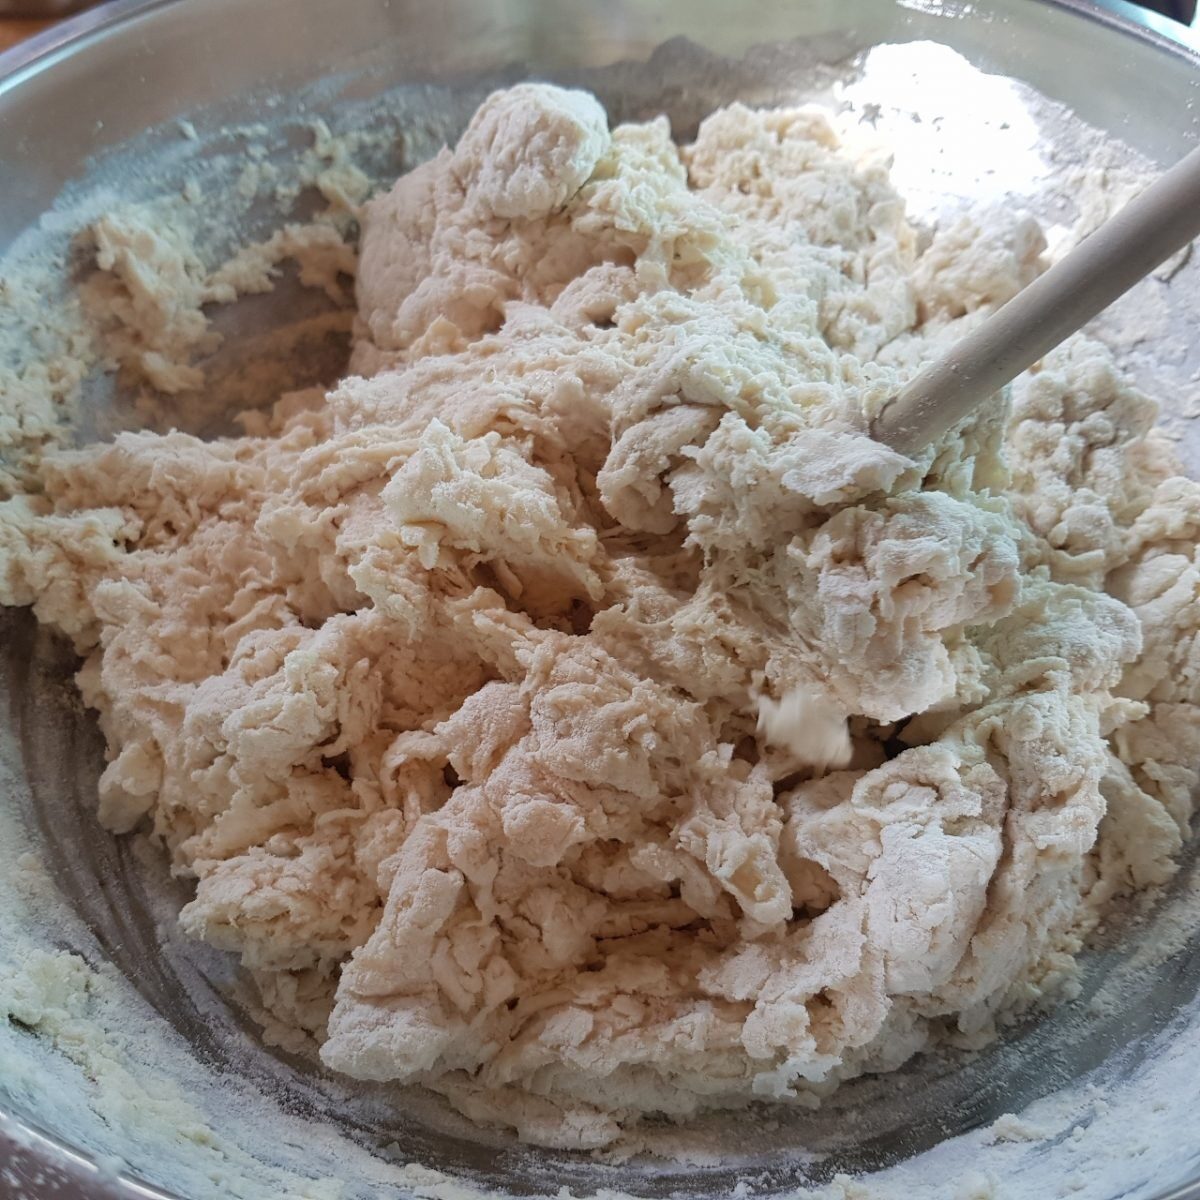
In a clean bowl add the starter followed by the water. With a fork mix the content thoroughly until the starter is fully dissolved in the water.
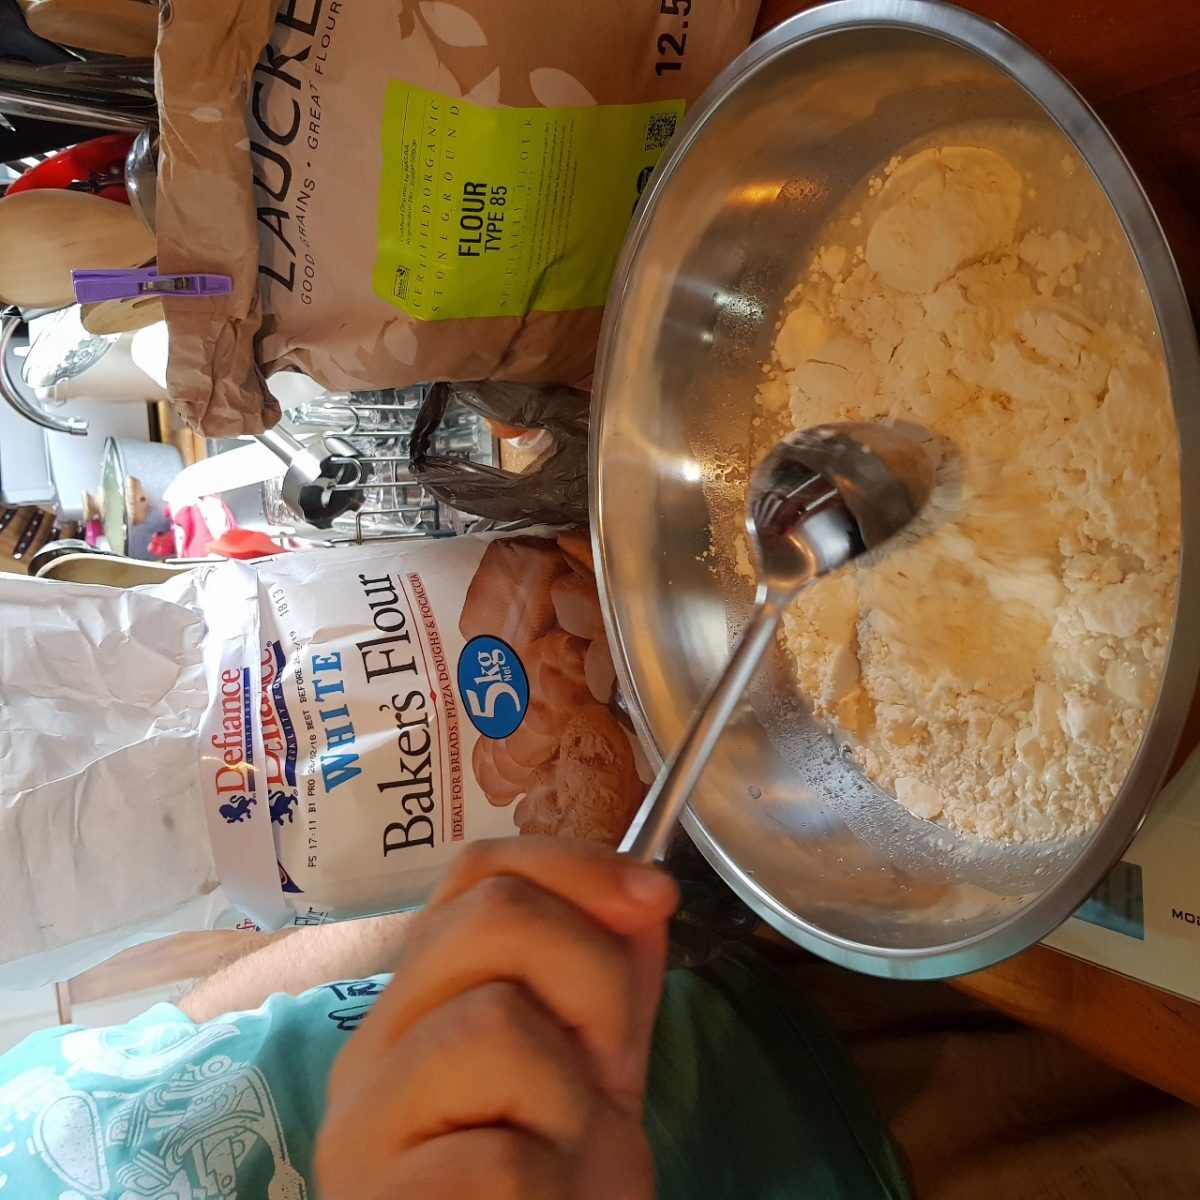
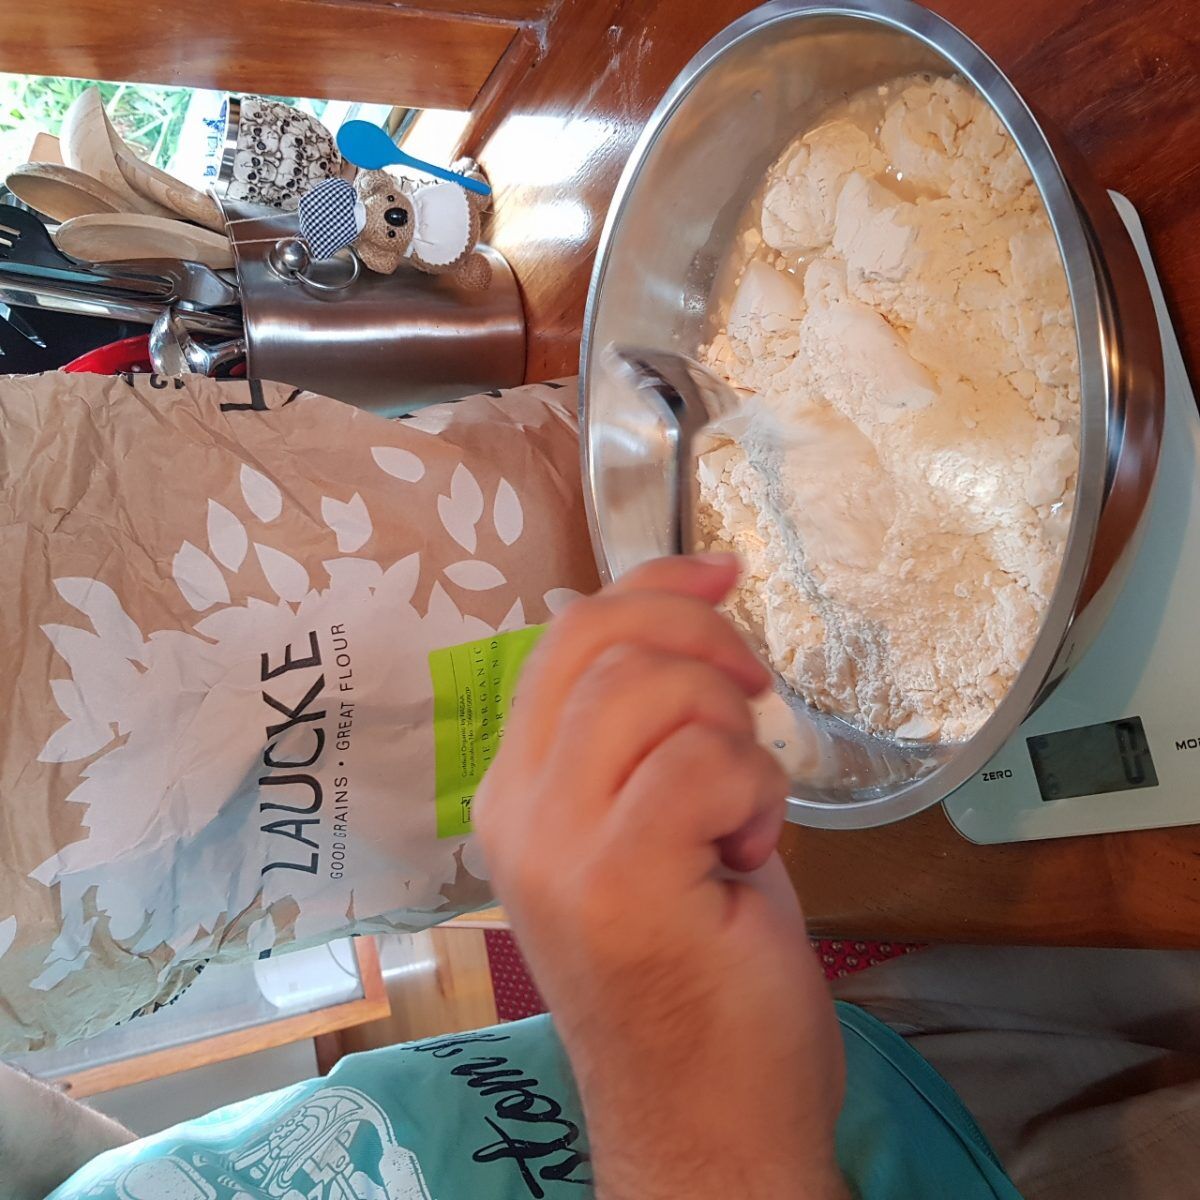
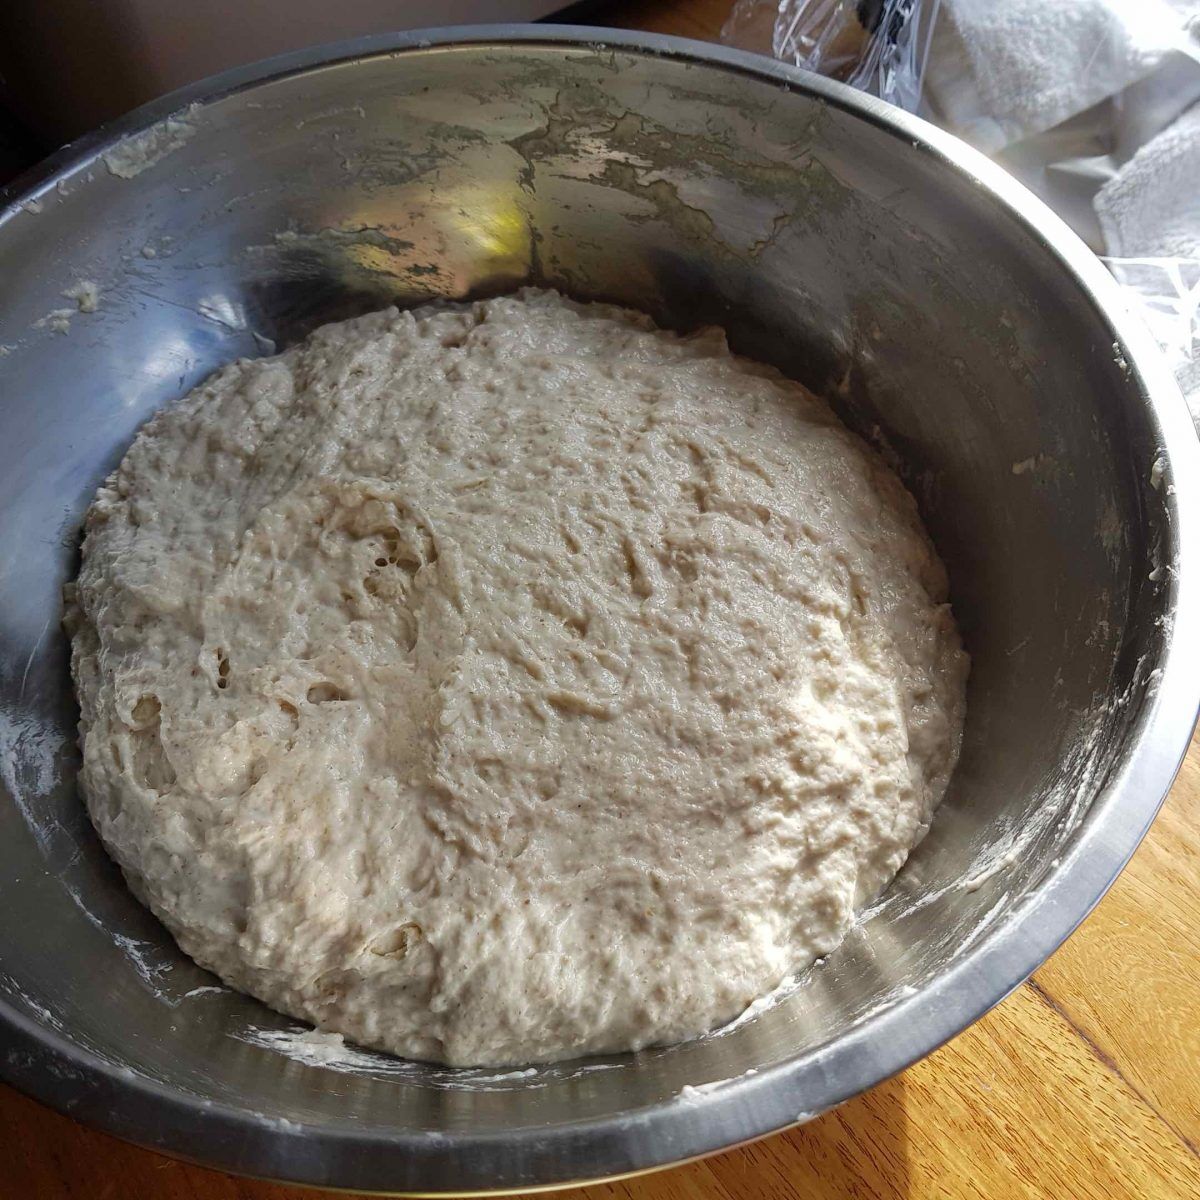
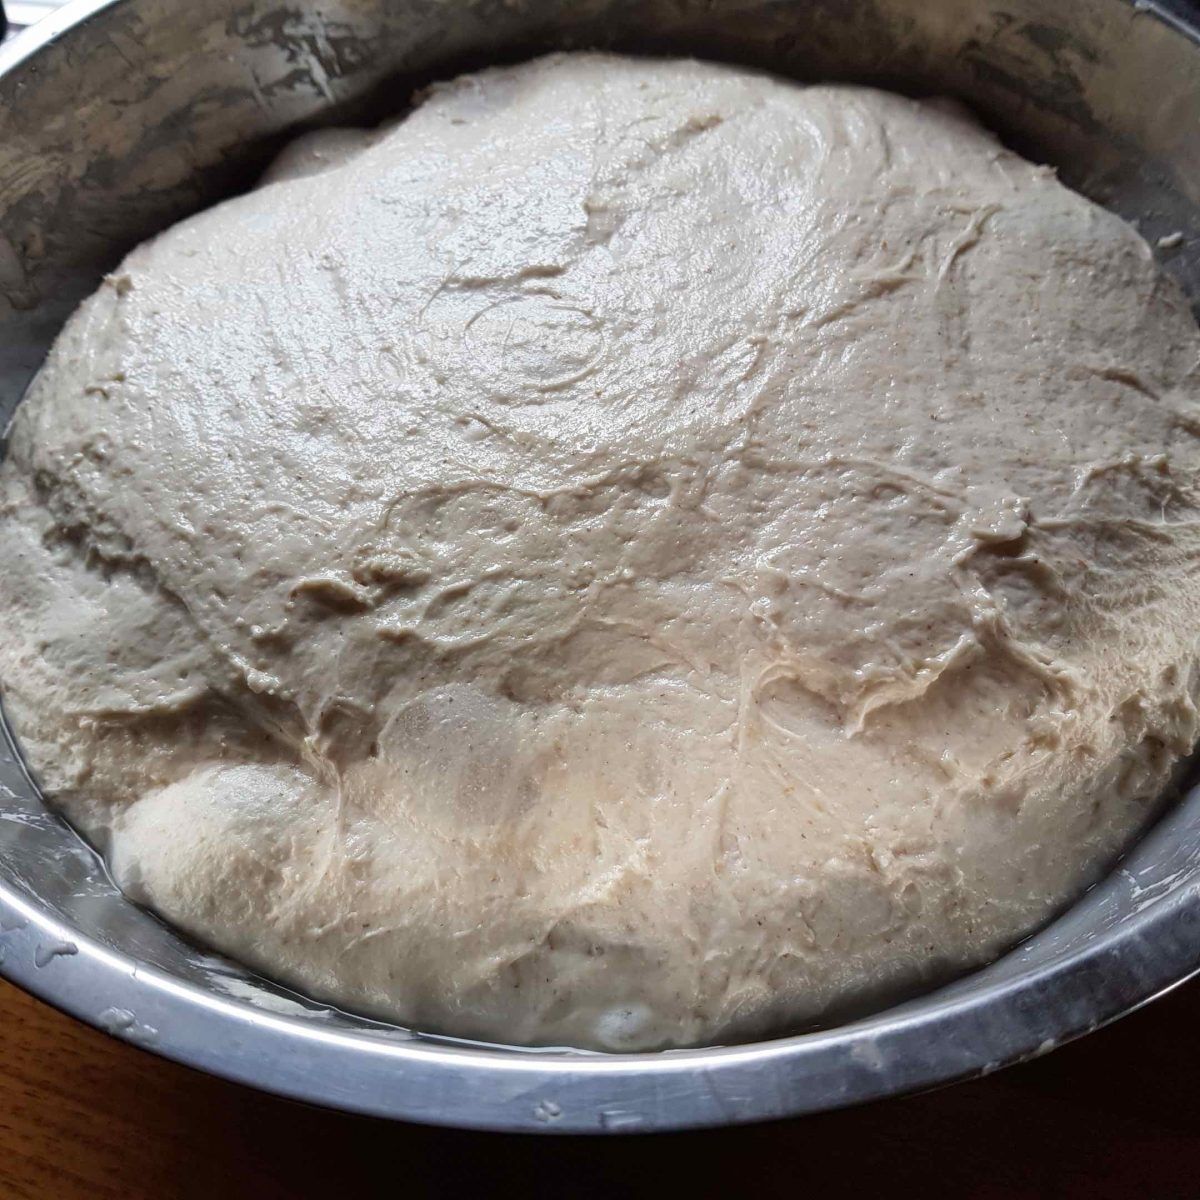
Add the two flours followed by the salt and using the backend of a wooden spoon stir slowly round and round until all the powder is wet and no dry spots are left of the bowl. Cover with a kitchen towel and leave at room temperature for 45 min to one hour. During this time the gluten should develop and the consistency change to more elastic and together dough.
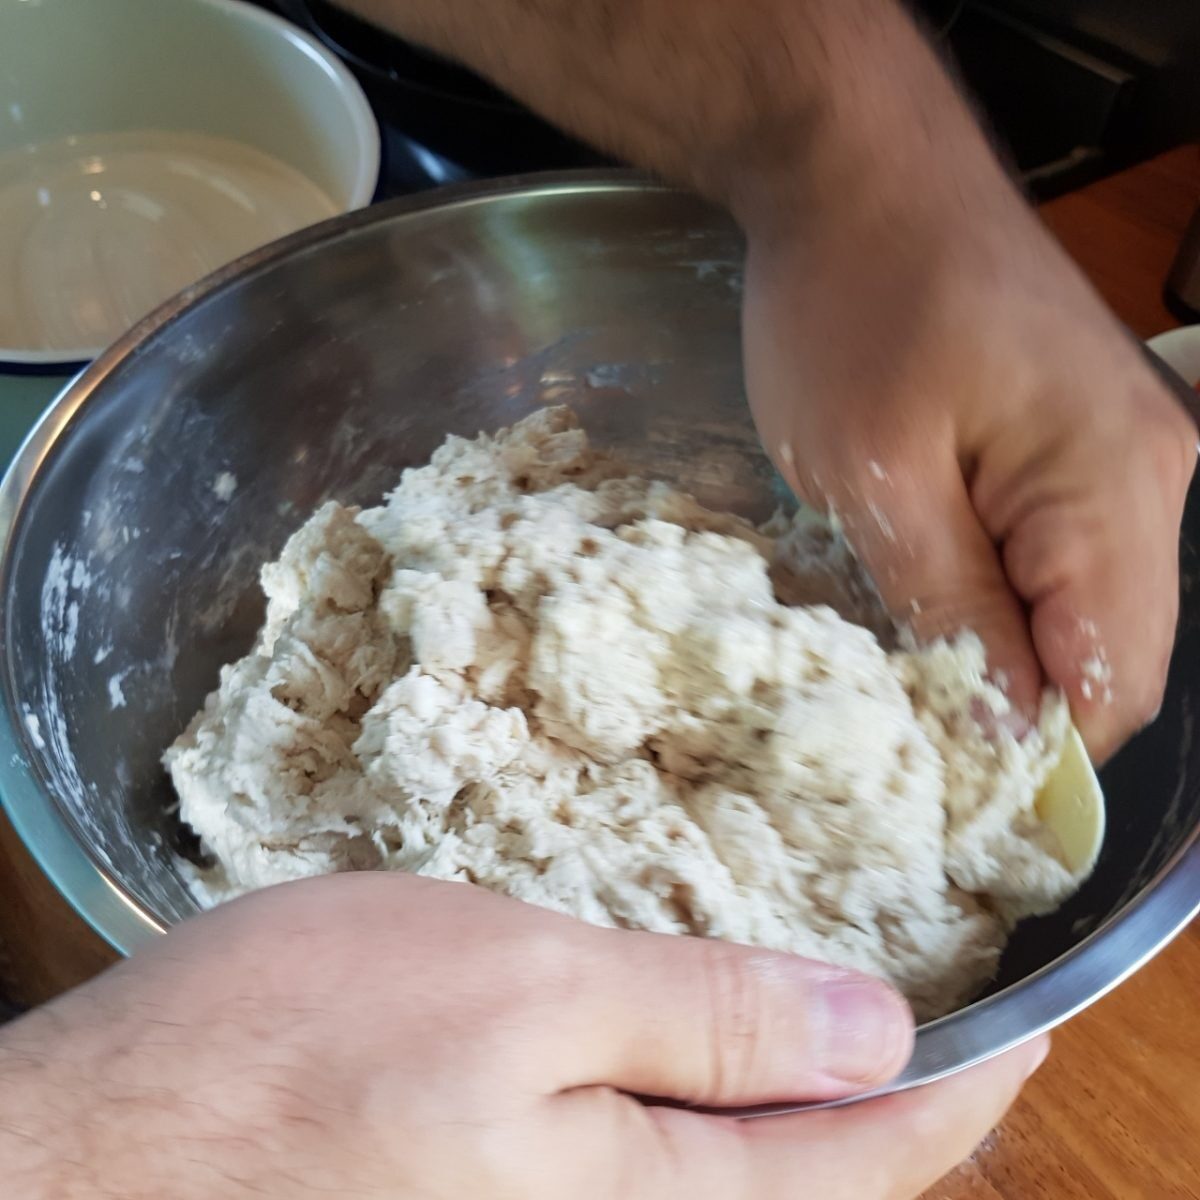
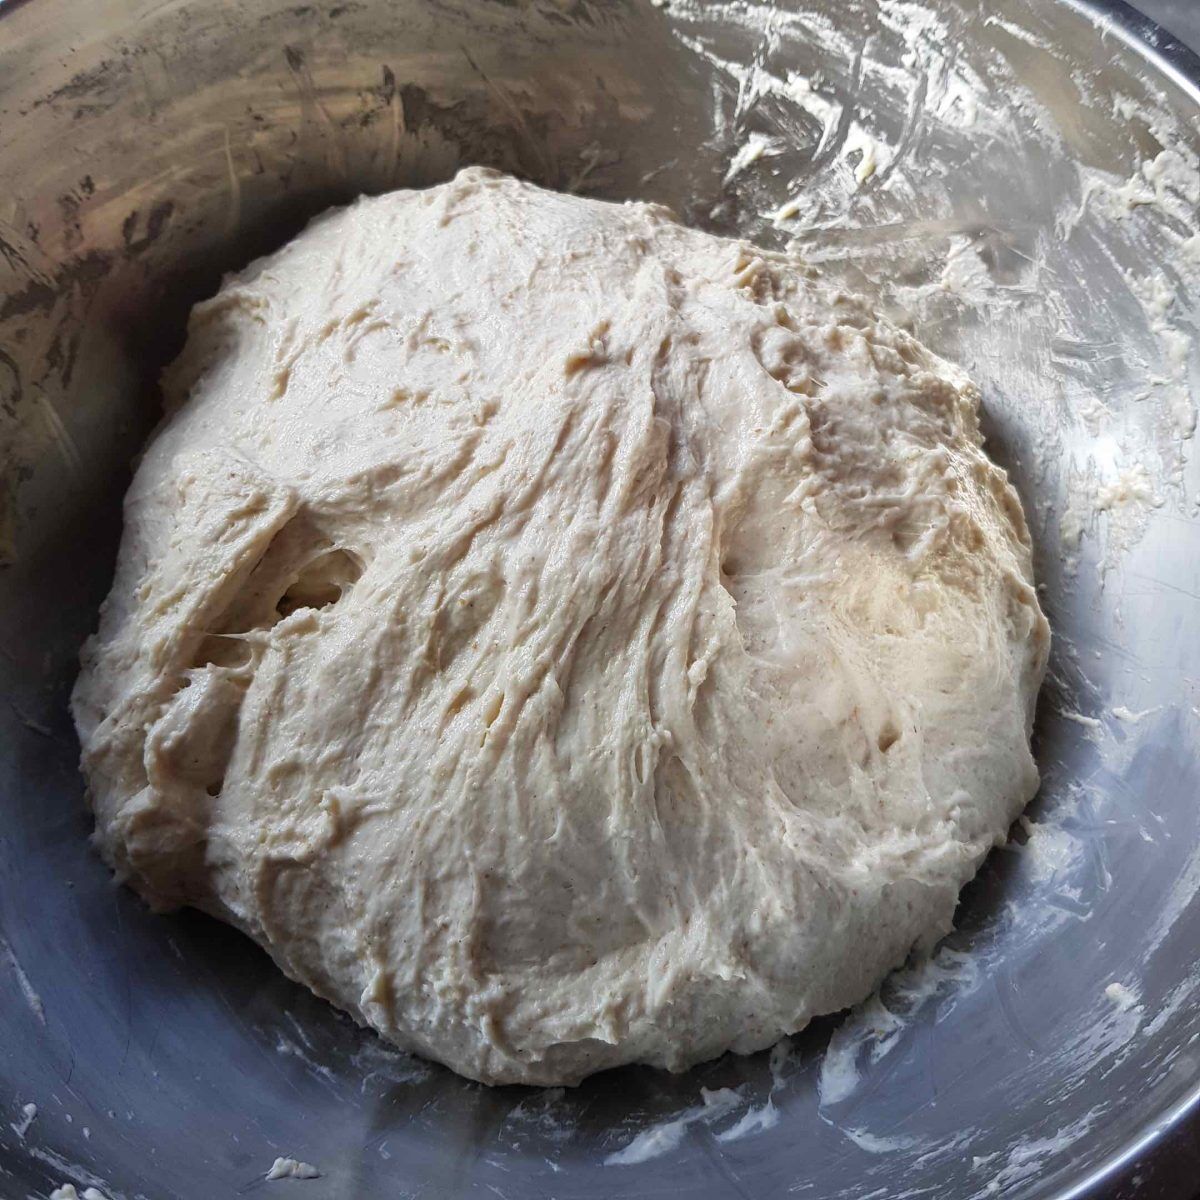
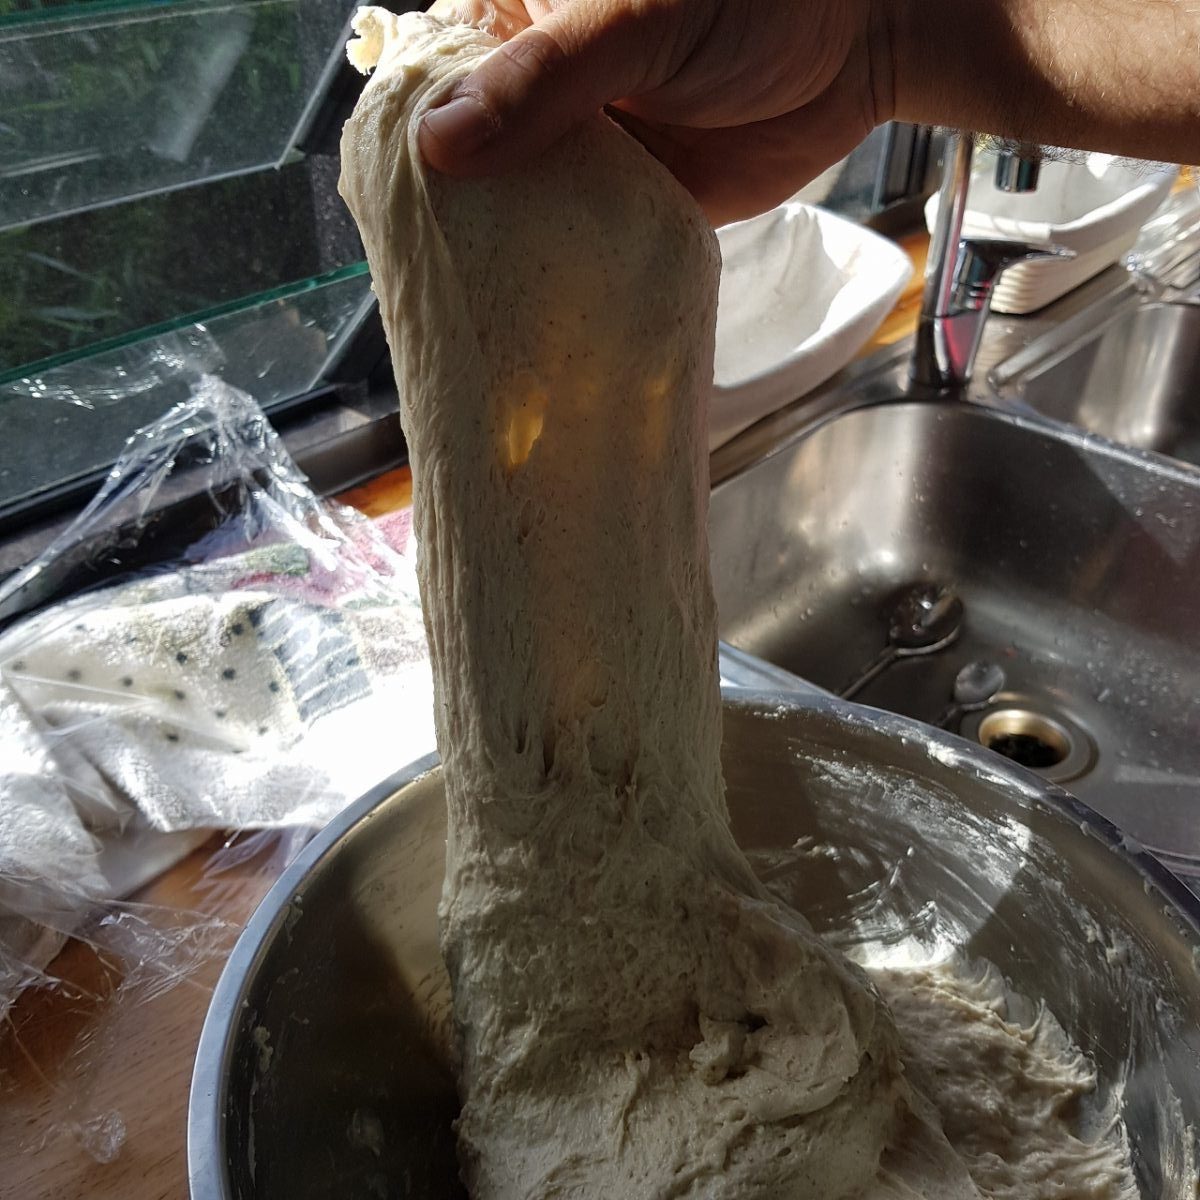
After the autolyse stage ( fancy name for what we just did ) we will fold the dough 3 or 4 times at 45 minutes interval. Uncover, wet slightly your hands so you do not stick, and grab one side of the dough lifting up and over the top as shown in the pics. Repeat this for all four quarters of the ball and cover and rest again. Which each repetition over the following hours you will notice a positive transformation in the dough.
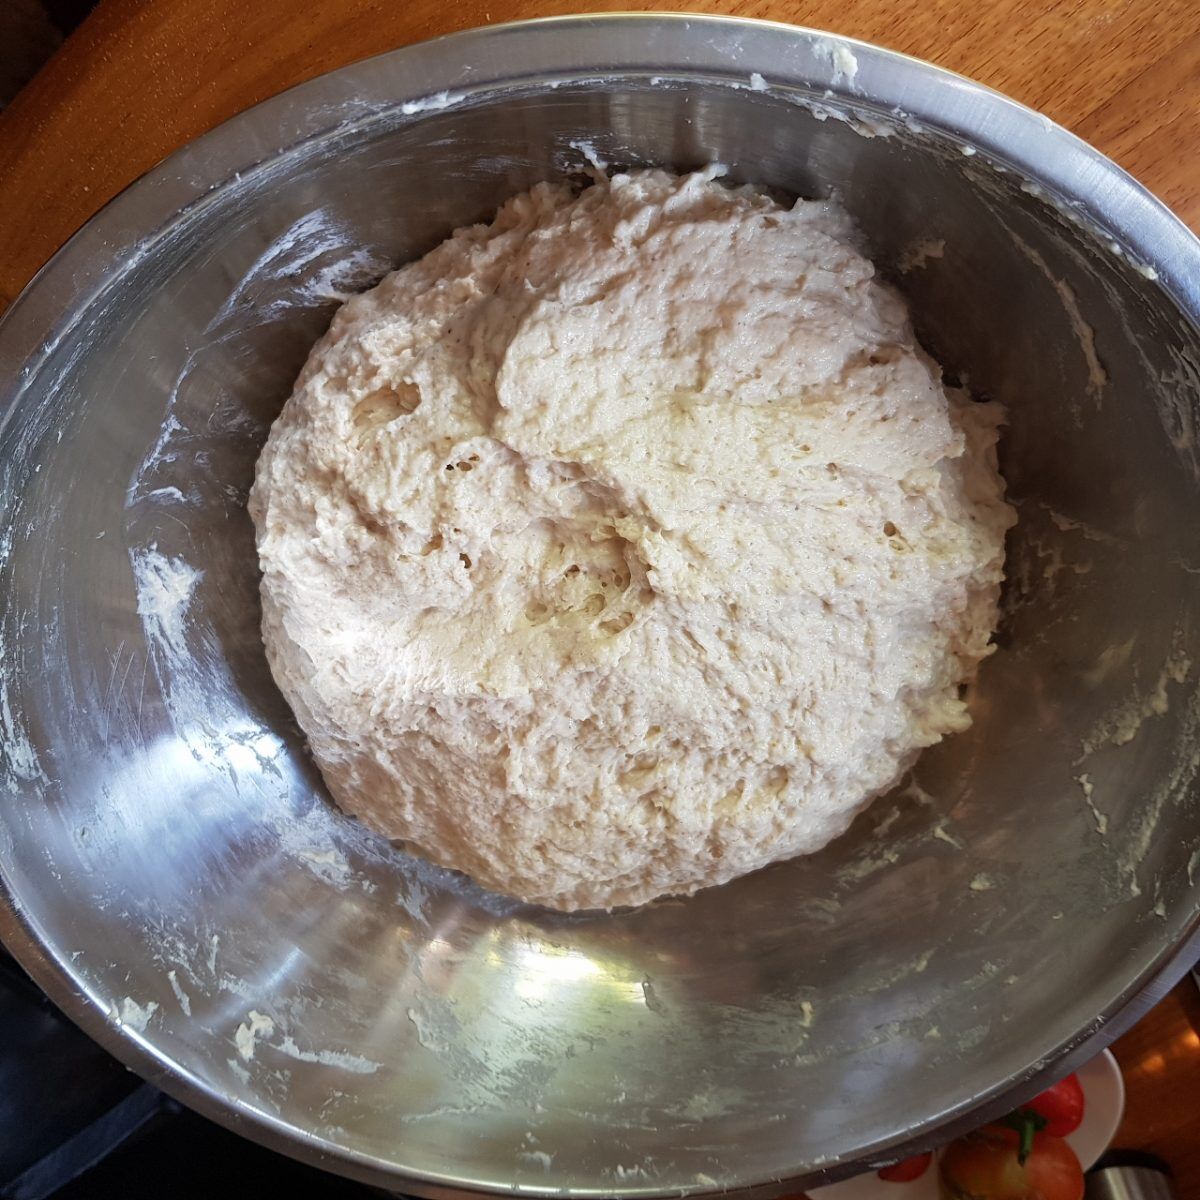
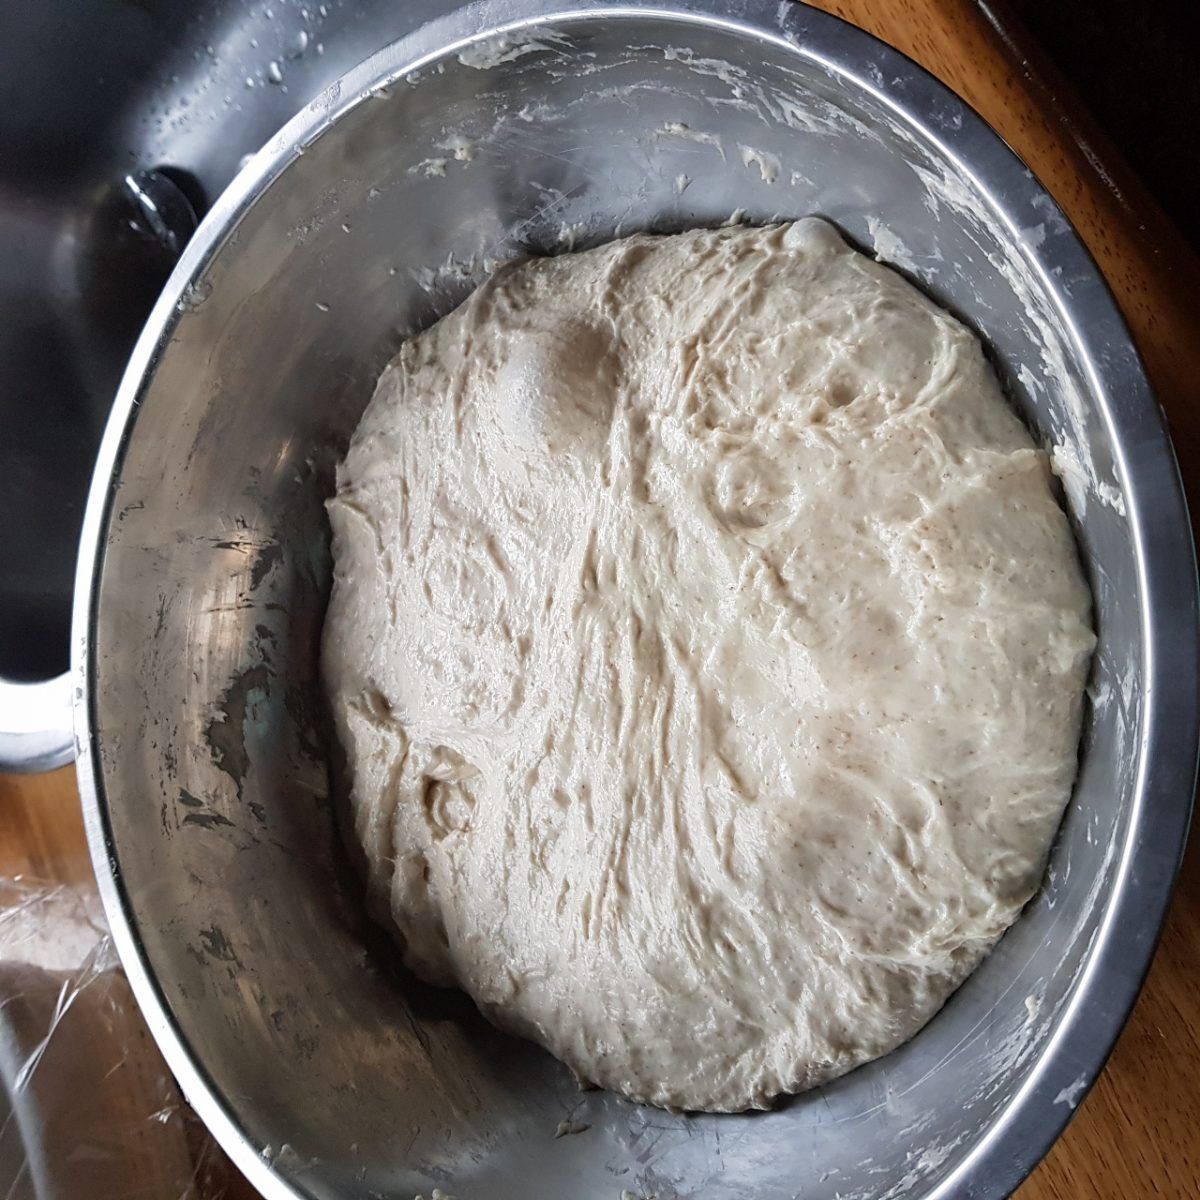
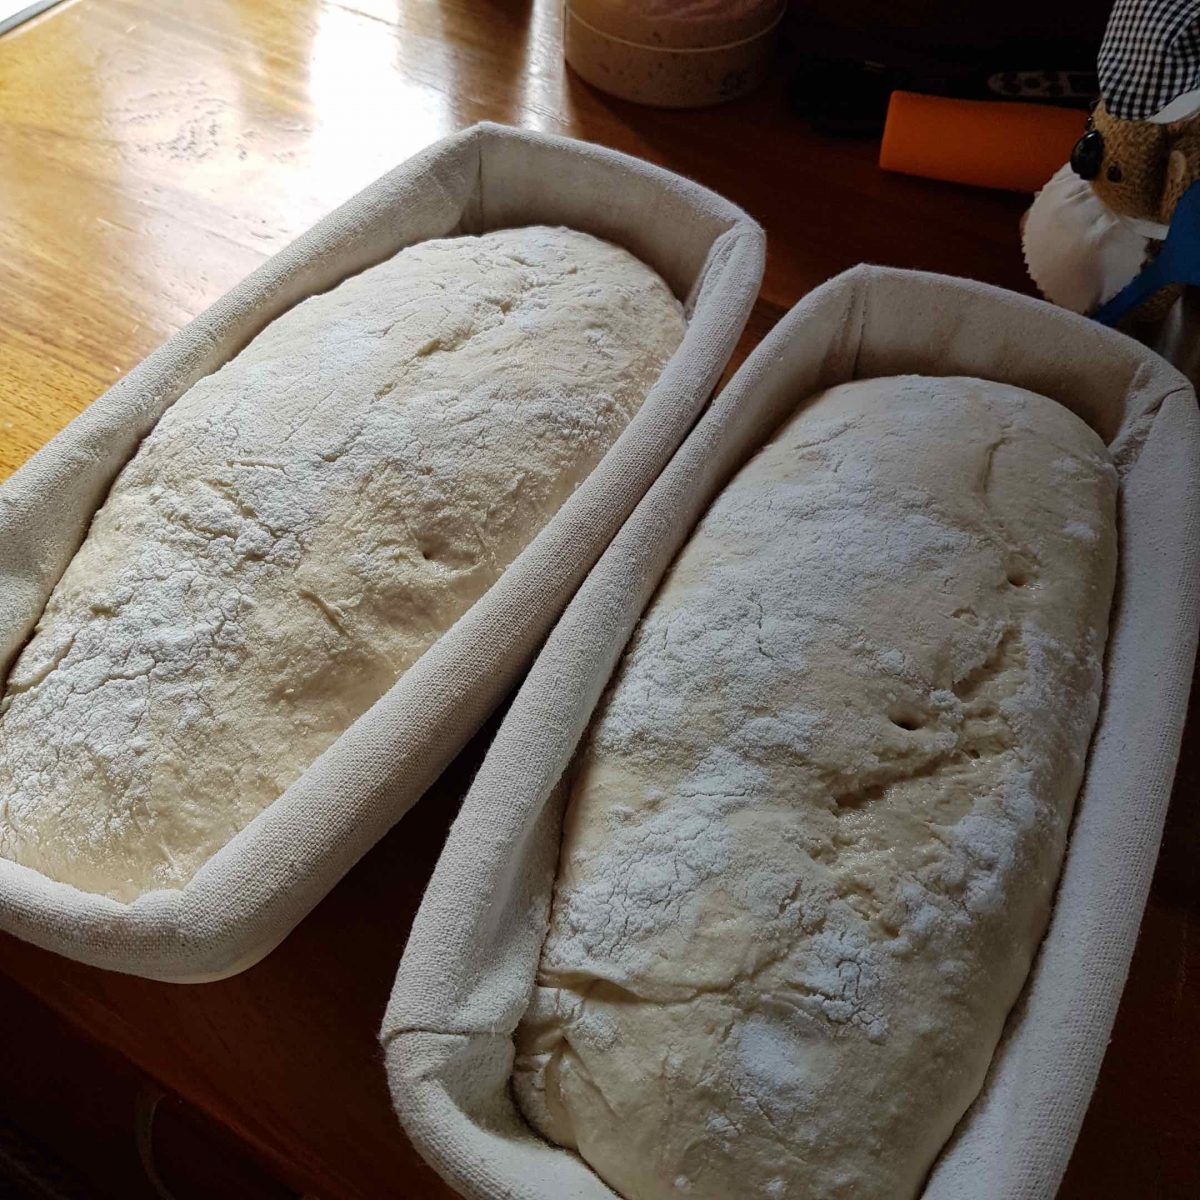
After the last fold, the dough should be beautiful and bubbly with some wobble to it. Cover and place in the fridge overnight. This cold fermentation will slow the growth but will add to the pleasant flavour to the bread as the yeast will devour most of the starch inside the flour in the starter leading to that sweet and sour signature.The next morning take it out of the fridge and leave it at room temperature for an hour or so depending on the room temperature.On a wooden board lightly floured remove the dough from the bowl as shown and divide the dough into two equal pieces. Form the two halves into two balls and cover and rest for 30 minutes. Prepare a couple of round or oblong baskets to use for the final proving by dusting them thoroughly. Shape the dough and place seem up into the proving baskets, cover and let rise for the final prove anywhere from on to three hours depending on your conditions. You know it will be ready when you’ve witnessed an evident growth, with a subtle wobble and when you poke the dough with your finger you get a halfway return to the original from the dough.By now your oven should be preheated to 250C and your dutch oven container inside it. Remove it from the oven ( careful it will be scorching) remove the lid, place some baking paper on the table and place the dough on it by tipping the proving basket gently. Lift the whole thing by the edges of the baking paper and place into the dutch oven container.
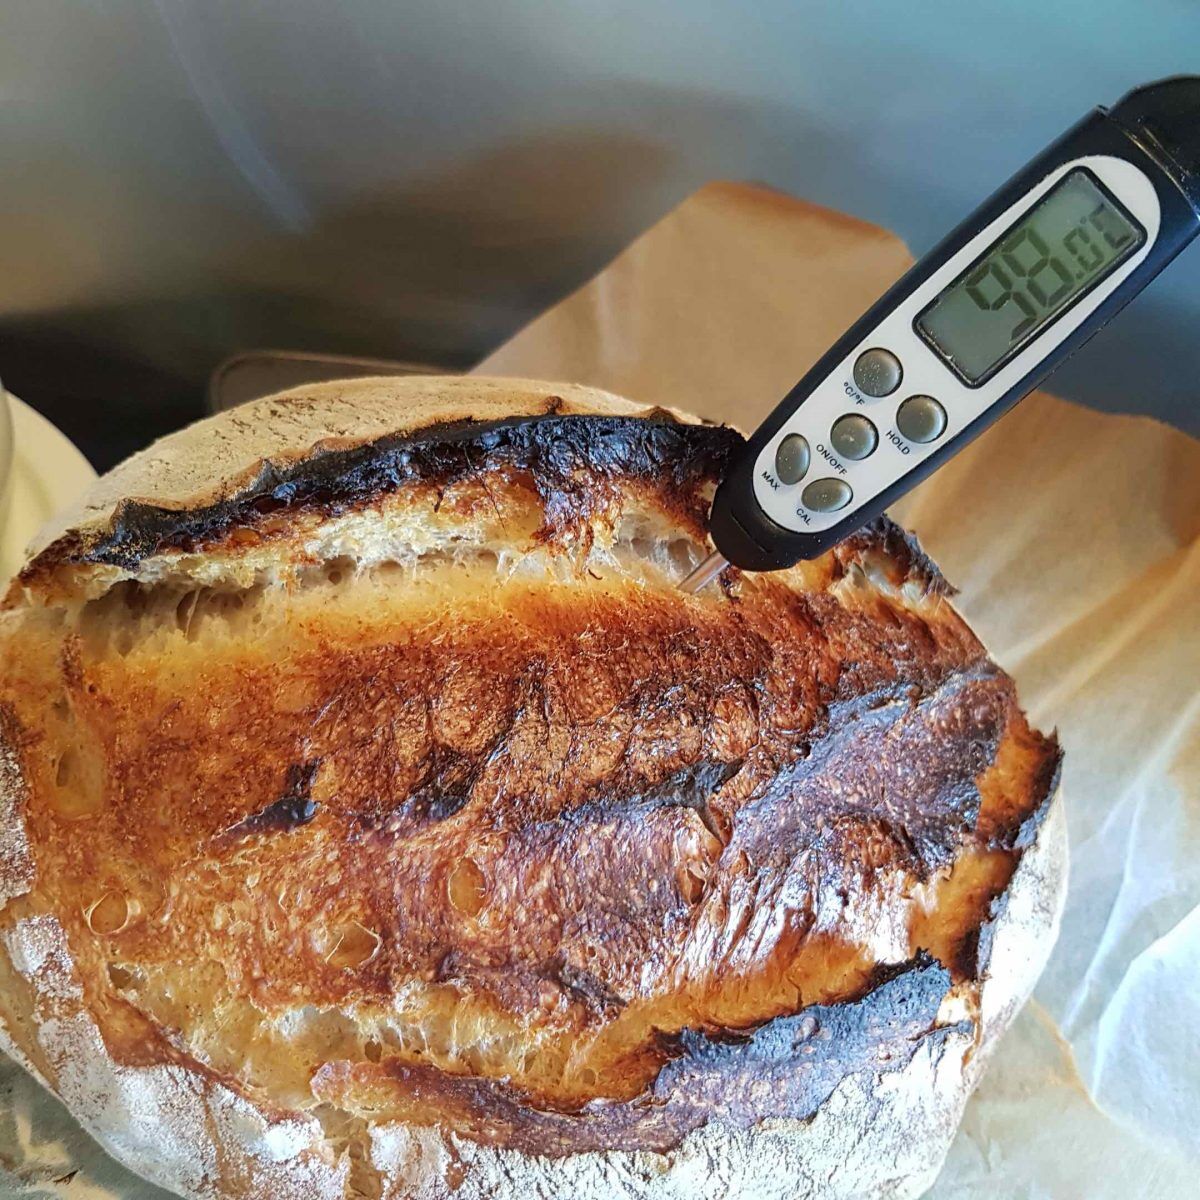
Slash your bread with a lame or very sharp knife ( helps with the oven spring ). Put the lid back on and place in the hot oven. Bake on 250C with the lid on for 15 min. The purpose of the lid is to keep the steam generated by the heat inside the container and assist to the forming of the crust on the bread.
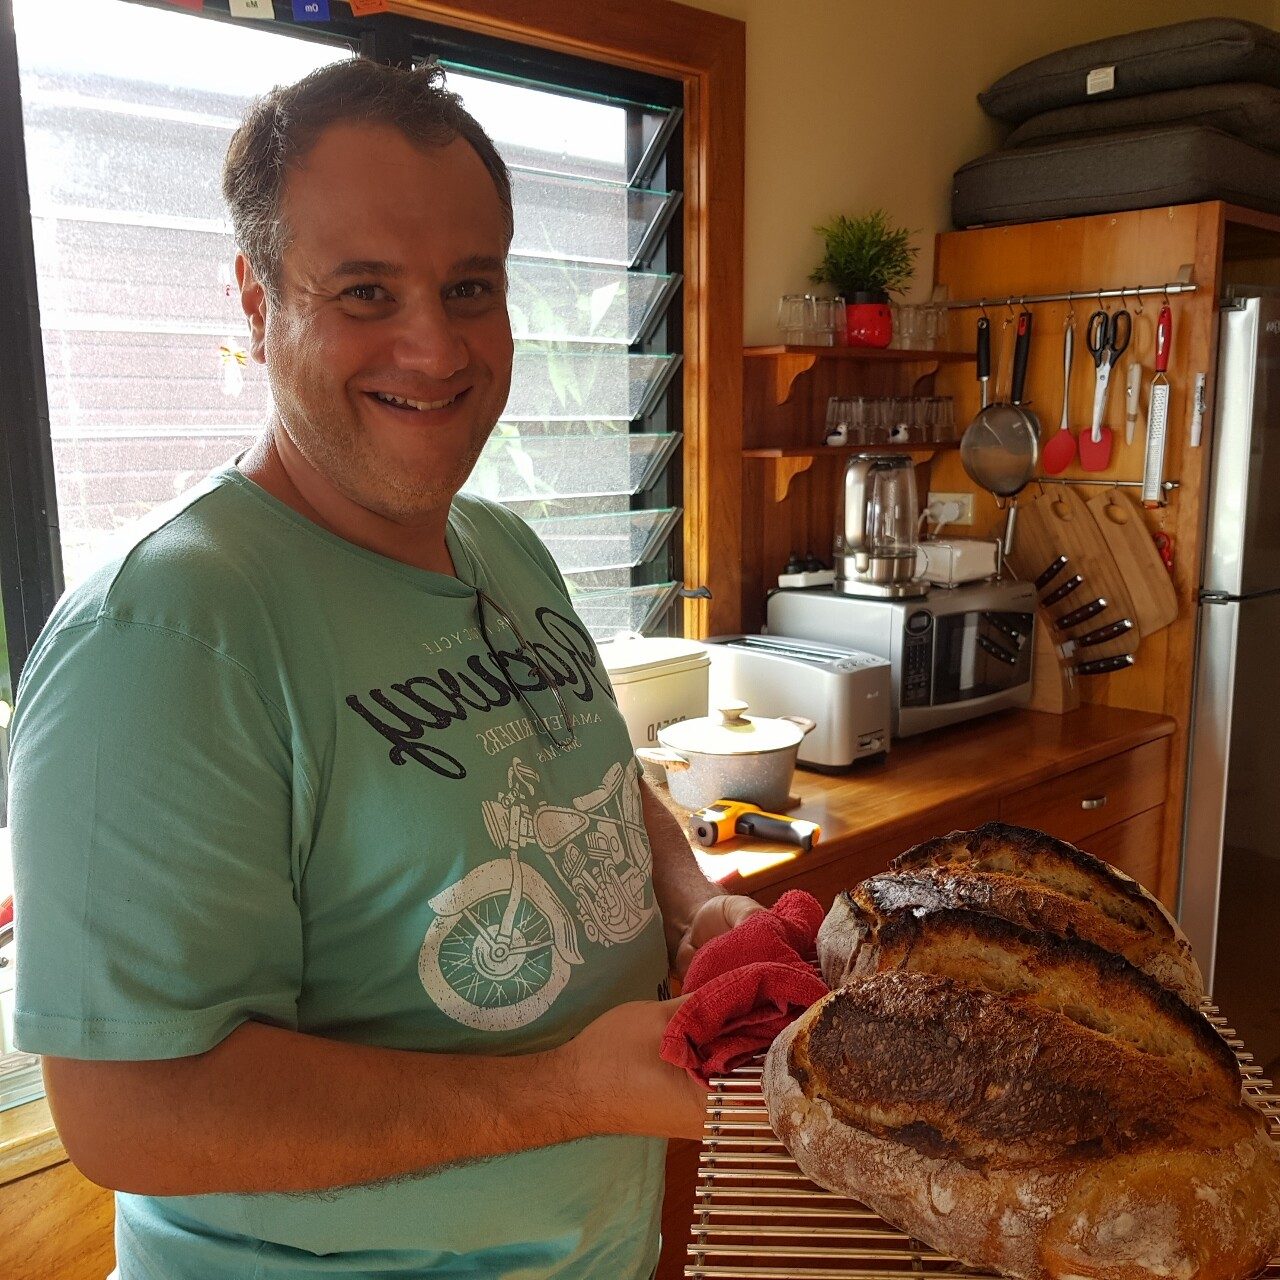
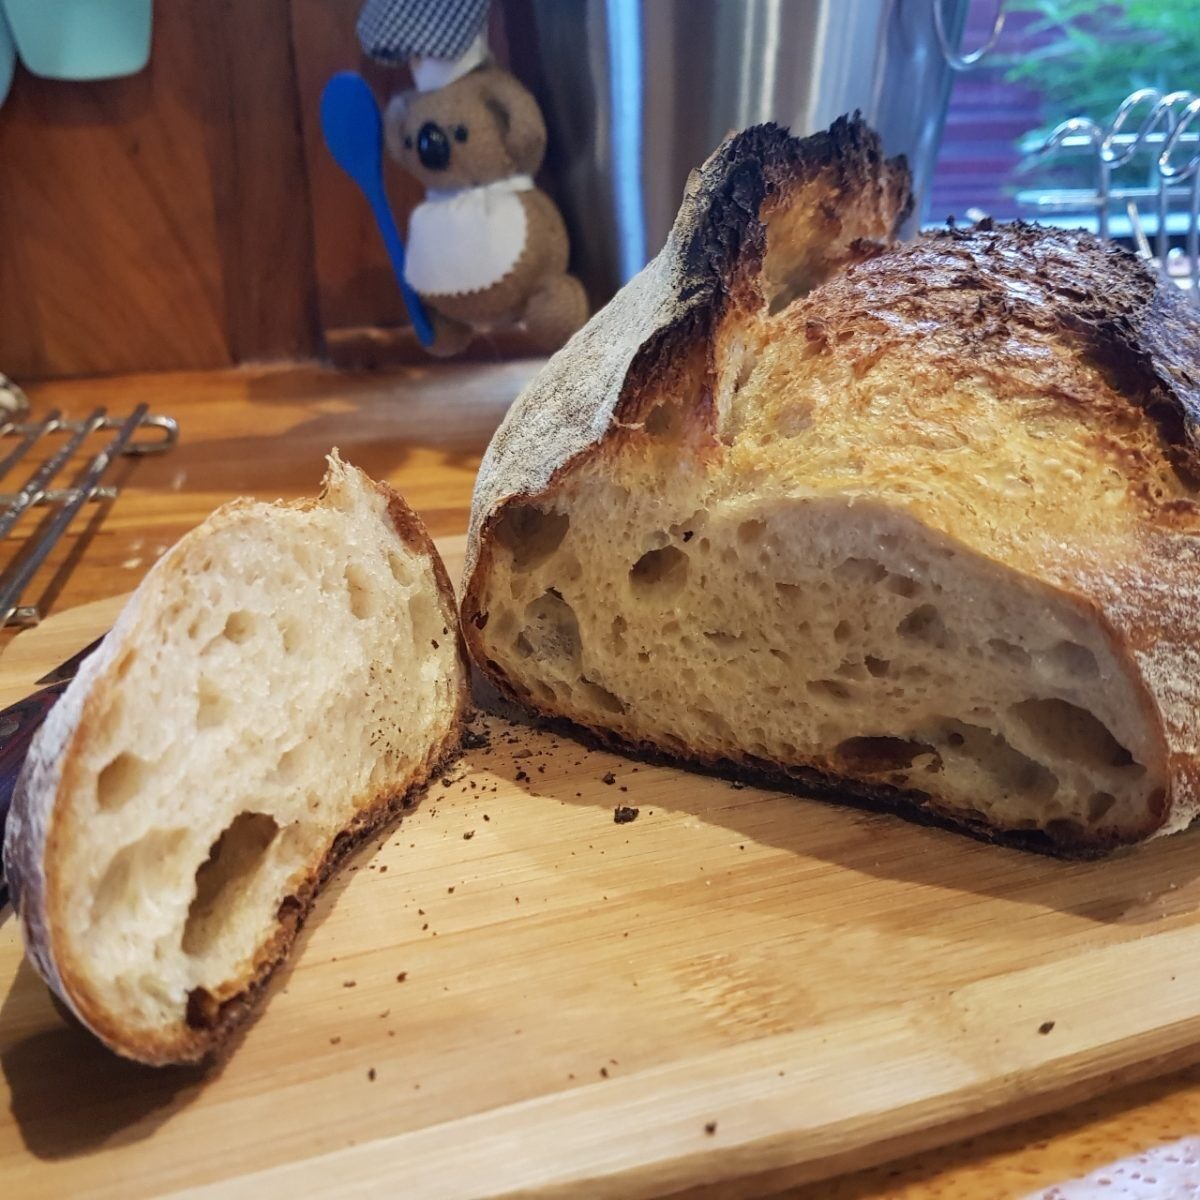
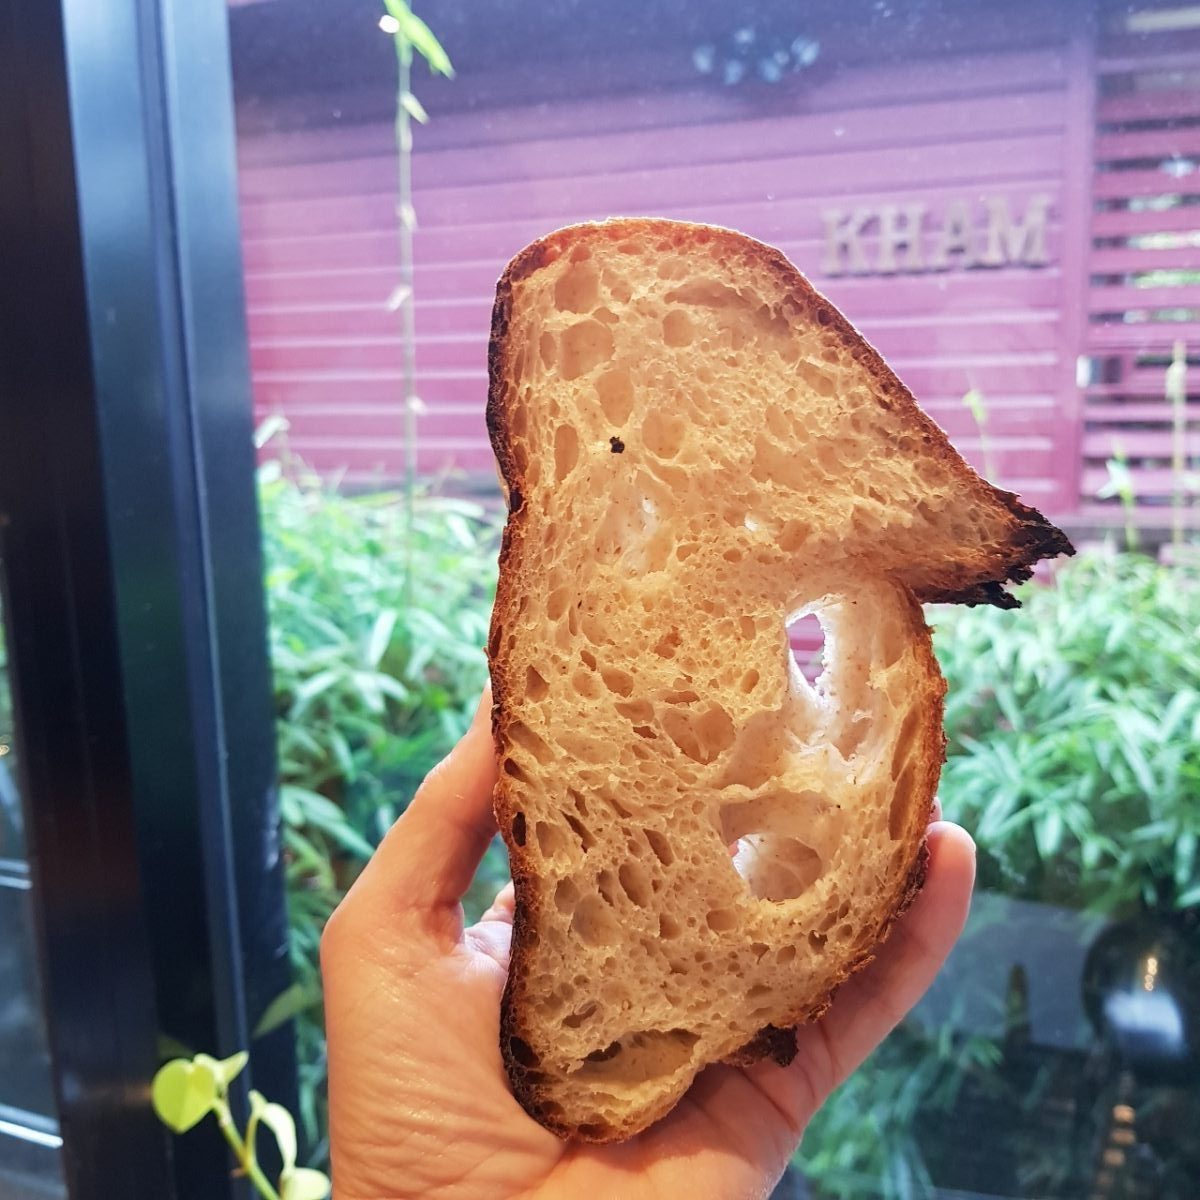
15 minutes later open the oven and remove the lid. Reduce the heat to 230C and bake for another 20min until golden brown.Remove from the oven place the bread on a cooling rack for at least one hour before you slice into it.
Congrats, you’ve just made your sourdough bread. If the results are not quite as good as your expectations do not despair, persevere and with each attempt it will get better until eventually you will never consider buying store bread again.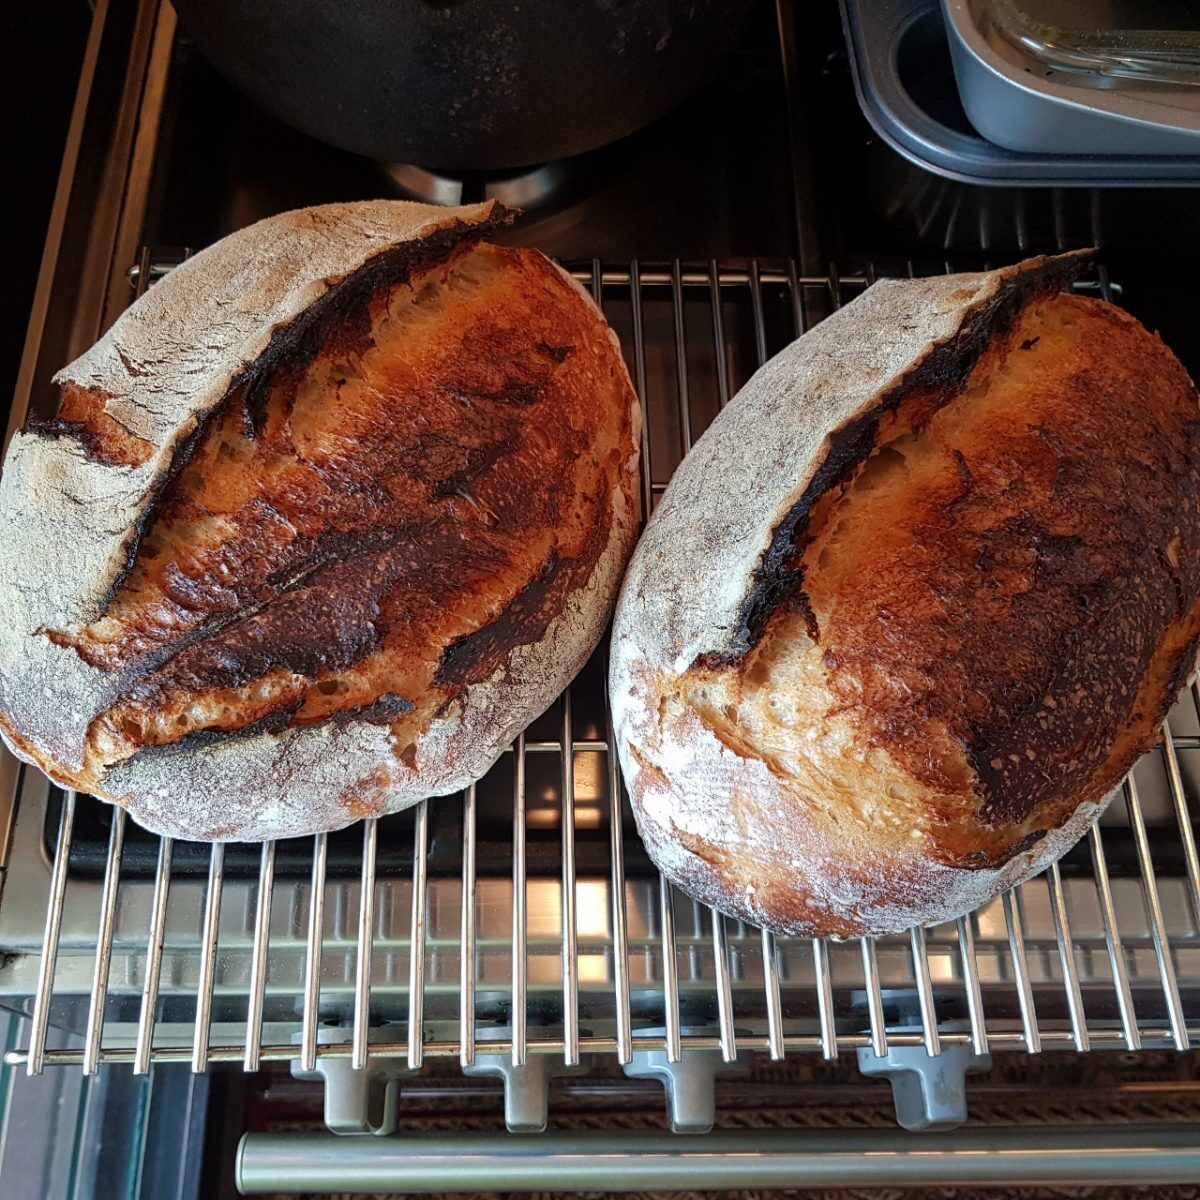
#sourdoughbread

Leave A Comment
You must be logged in to post a comment.